TOC
Where do we start?
For many developers IoT brings thoughts of electronics and wires with hours of trying to get things working just to blink an LED or read the temperature of the room with a BME280? You may even be thinking you need to be down low level with C/C++ or Python for your code…
However if your reading this I am guessing you’re a .NET developer and thinking that you can’t use your existing C# .NET skills for IoT, well the good news is that your wrong we can and in this short series of blog posts I will show you how you can program a small low powered device to connect to the cloud and stream sensor data for analytics and storage. We will cover in this post the options we have for the devices and the Pro’s and Con’s of each option to help you pick what best suits your project needs.
What is IoT?
You probably already know what IoT stands for Internet Of Things but what does that really mean and where did it come from?
Back when I was starting out with electronics working in the Automotive industry at Ford Motor Company I was trained in skills like soldering and electronics using resistors and capacitors as well as IC’s or integrated circuits.
This was mainly around PIC and AVR microcontrollers the 2 main brands, but these required you to have an understanding of electronics as well as the special IDE’s and tool chains to program them before you even started with the low level C/C++ code with their own special instructions.
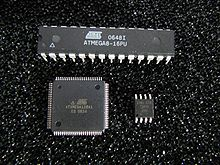
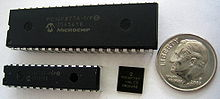
These chips where the brains of our solution and much like your PC/Laptop you’re reading this on they have a CPU but also many other parts that make them into a MicroController.
Now I hear you ask what is a what is a MicroController as that is not always understood but if we checkout WikiPedia it states:
A microcontroller (MCU for microcontroller unit) is a small computer on a single metal-oxide-semiconductor (MOS) VLSI integrated circuit (IC) chip. A microcontroller contains one or more CPUs (processor cores) along with memory and programmable input/output peripherals. Program memory in the form of ferroelectric RAM, NOR flash or OTP ROM is also often included on chip, as well as a small amount of RAM. Microcontrollers are designed for embedded applications, in contrast to the microprocessors used in personal computers or other general purpose applications consisting of various discrete chips.
So basically, a computer all on one chip is the easy answer just no video card and the ability to turn real world things on/off or sense the values from various sensors it’s connected to.
Starting with Arduino
A lot of online resources and blog posts for getting started with IoT will mention the amazing Arduino family of products, these are small form factor boards that were designed using the AVR Micro mentioned above but into an easy to use and pre-built package.
They have their own IDE which to be honest isn’t the best as it’s essentially Notepad++ with a few extra bits, but you can use VSCode or you can even use full fat Visual Studio but you will need the awesome VisualMicro Extention which is what I use when I am low level on client projects.
When using Arduino and the cut down version of C/C++ that the platform uses, after all there is no need for the full C/C++ you are not stuck with just the Arduino products. Due to the success of the Arduino platform from 2005 onwards there are many compatible boards from the likes of PRJC - Teensy and Adafruit to name just 2.
WARNING - Visiting the stores to look at these boards and the sensors may result in purchases 😉
But you said .NET and C#
Once you have played with the Arduino and built that Blinky LED sample that is the typical IoT Hello world project you will want to learn how to leverage your .NET skills.
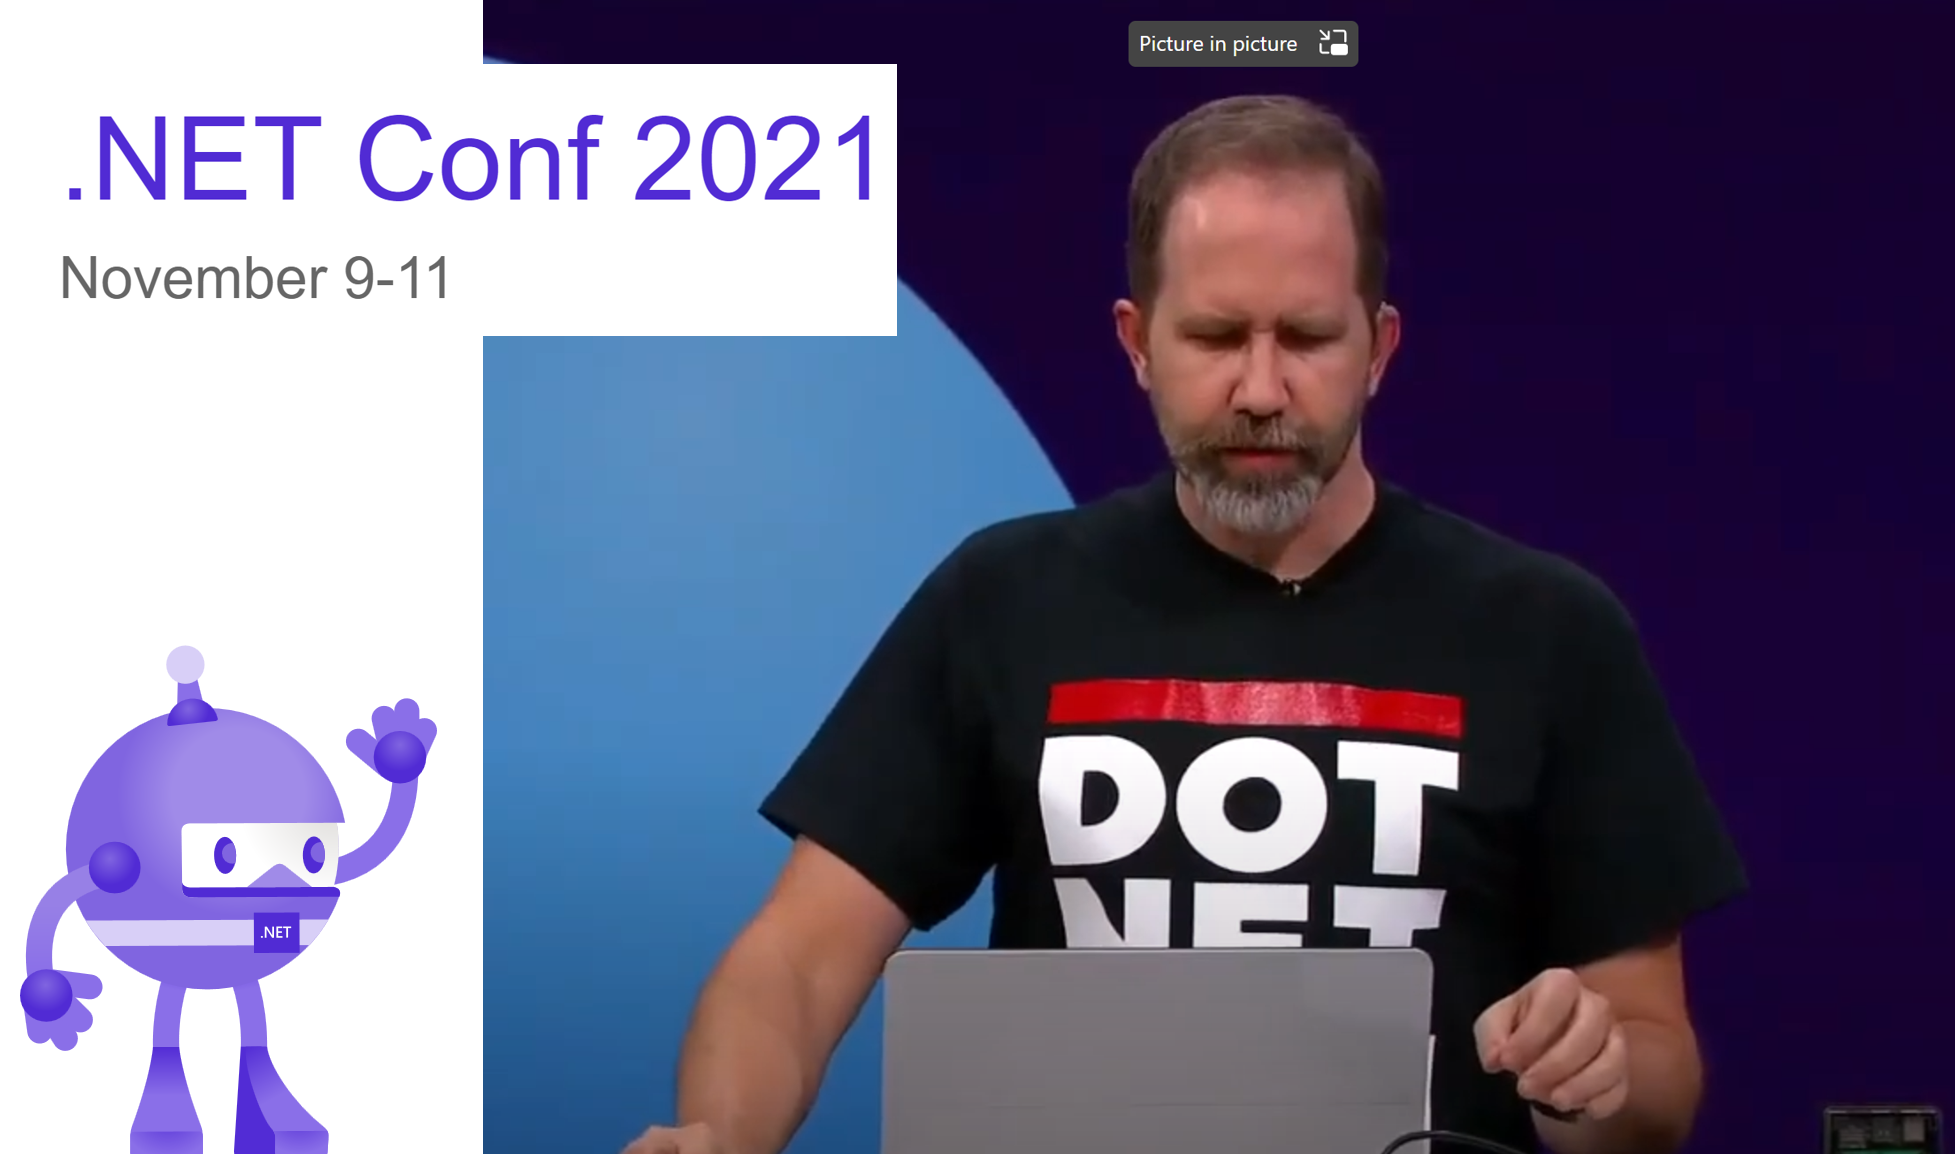
The good news is that the world’s most Okayest developer as he calls himself Scott Hanselman stood on stage at .NET Conf in 2021 and said that .NET runs everywhere.
But how do we do this?
We have 3 choices really, first there is the amazing RaspberryPi and then in line with the Arduino boards mentioned before there is either the Meadow F7 from Wilderness labs or using off the shelf boards like an ESP32/STM32 you can use the NanoFramework platform.
Let’s take a look at each of these.
Raspberry Pi
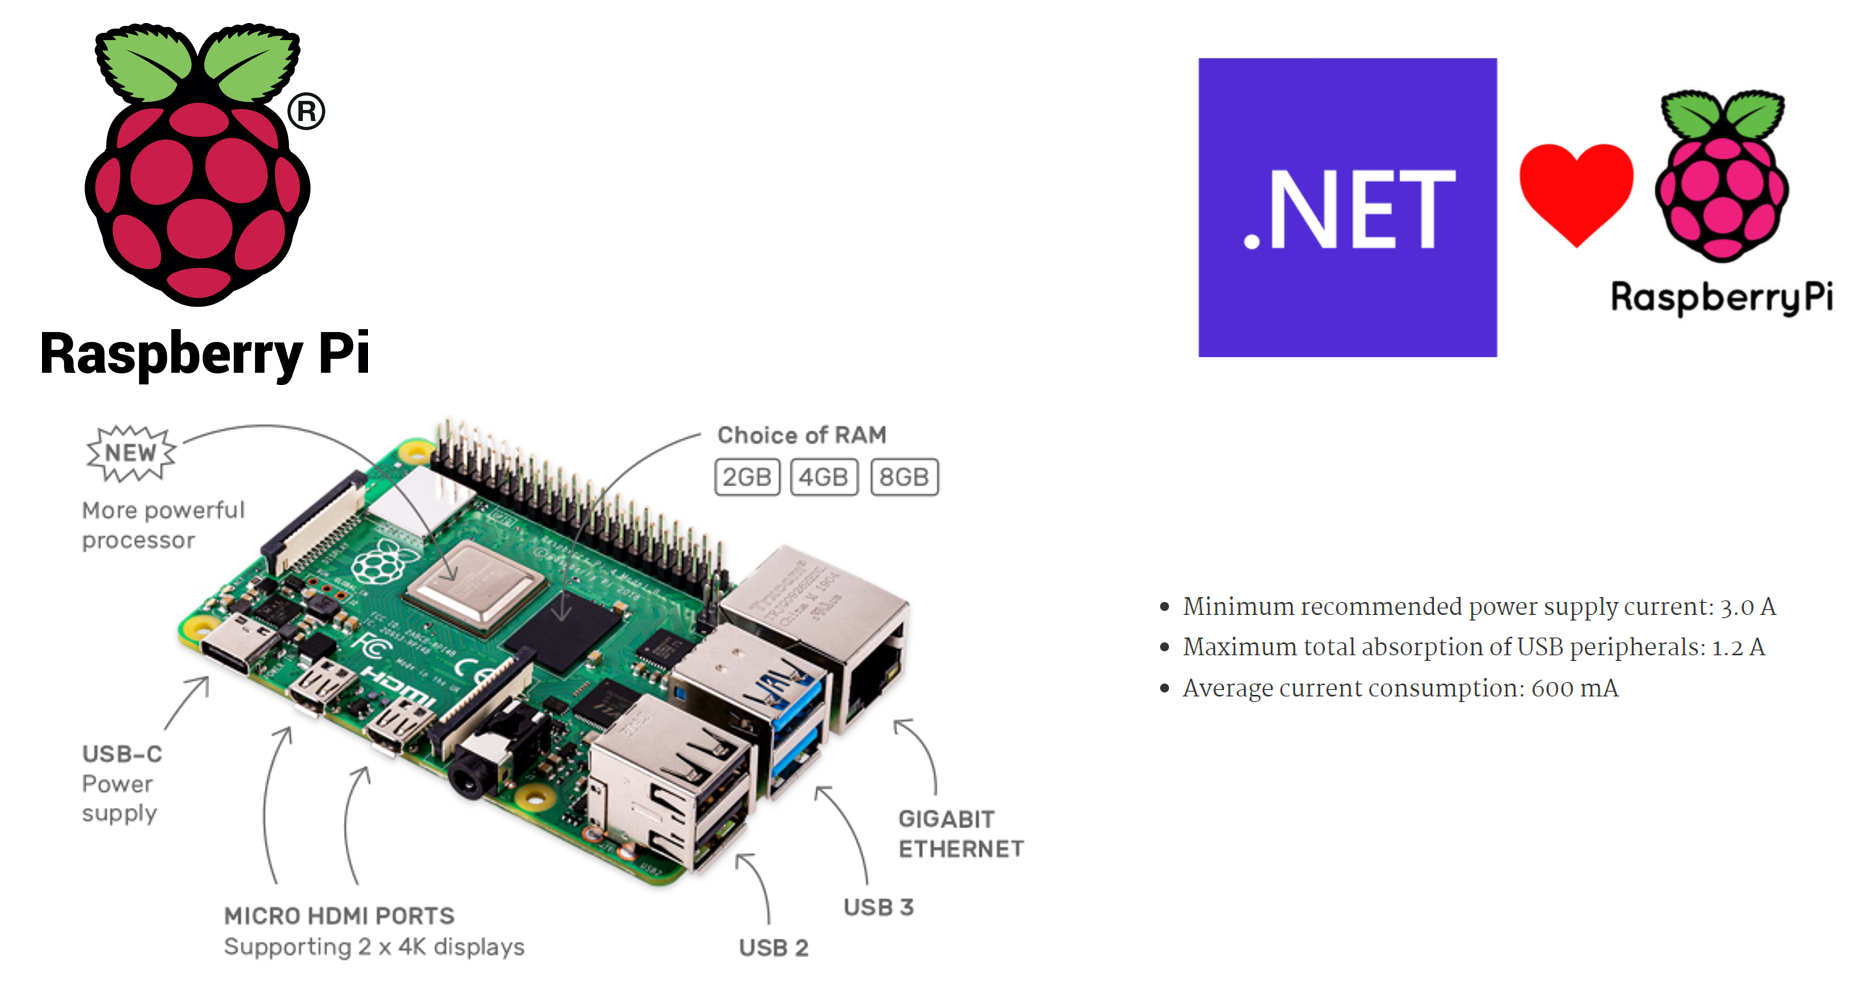
The RaspberryPi is a platform that has been around for a decade now with the first model showing up in 2012 and it is based around a Broadcom CPU from Android Mobile phones of the time. The board is a full Linux machine, and the aim has always been to keep the price of the board to £35 and build a learning platform for kids around it. In fact profits from selling the boards and associated items is feed back into not just R&D but the RaspberryPi Foundation which aims to teach kids to code so think of that when making your purchase with a smile.
They are not just for schools/colleges & Universities though they are used in many products and industries globally as they are small cheap Linux machines to host your code.
With a 40 pin header full of GPIO (General Purpose Input/Output) you can connect a whole host of sensors and peripherals to the boards. Add in the HDMI ports for a Monitor and Ethernet/Wi-Fi etc you can easily see it’s just a small PC the size of a credit card at a super low price.
This means that you can run .NET and the easy way to do this is to use a script from a good friend of mine Pete Gallagher which is here and the added bonus being that he walks you through your very first .NET program to blink the LED.
As Pete shows in the blog you will be writing a .NET Console App that will interact with the outside world using the IoT Device Binding which you can read about over on the Docs.Microsoft pages
If you want to learn more you can even complete a fantastic Microsoft Learn course here which takes less than an hour and teaches you the basics of using .NET on these fantastic little boards.
If you wanted to use the HMDI and a screen for your project you could also build a Xamarin.Forms Project as it has a Linux Target that is community built and I have successfully used this to build Advertising displays of a Screen with a RPi on the back running a Xamarin project but this isn’t really IoT but still a great use of the tech stack.
-
Pro’s
- Full Linux Machine so have the full power of .Net
- Have Network onboard with Ethernet and Wi-Fi
- HDMI so you can connect a Monitor
- Can run VSCode IDE on the board so easy to develop for out in the field.
- Lots of add-on boards called HAT’s available with Library’s pre-written.
-
Con’s
- Larger form factor than other boards.
- Needs a lot of power the RPi (Shorthand for RaspberryPi) 4 board needs 600mA just to run and is recommended to use a 3A power supply so not going to run from a battery.
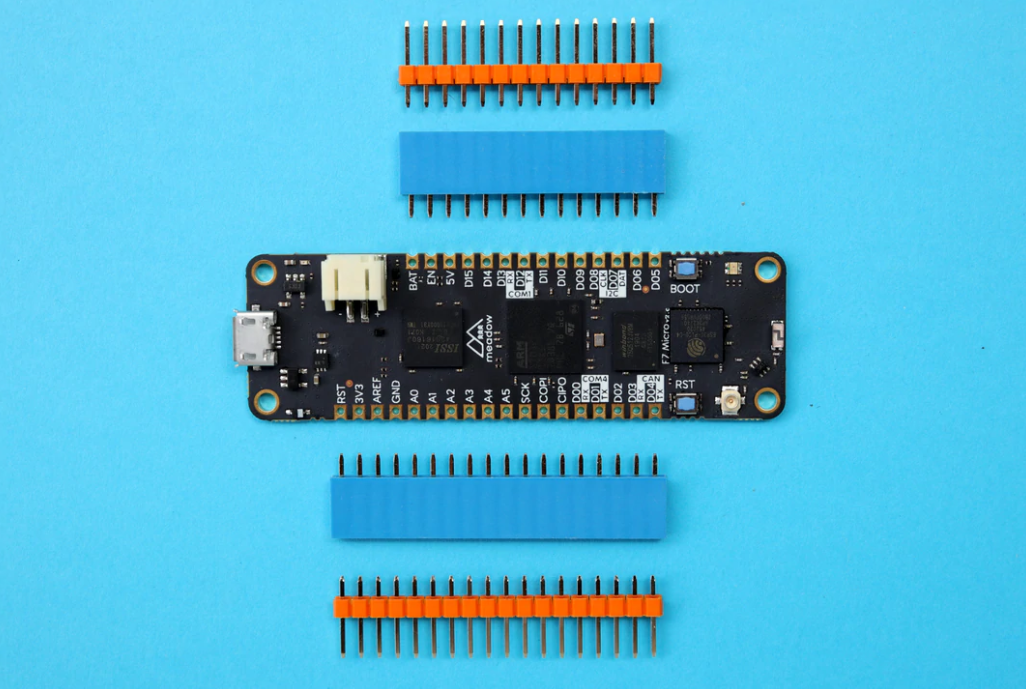
Meadow F7
The next on our list of choices is the Meadow F7 that is from Wilderness Labs, this board is designed, produced and sold by Wilderness Labs on their Store for $50 plus shipping from the USA.
The team behind the Meadow boards are all ex-Xamarin from when Microsoft purchased them so they are all used to building .NET code on top of the Mono Runtime to run on non windows devices and this is exactly what is happening here.
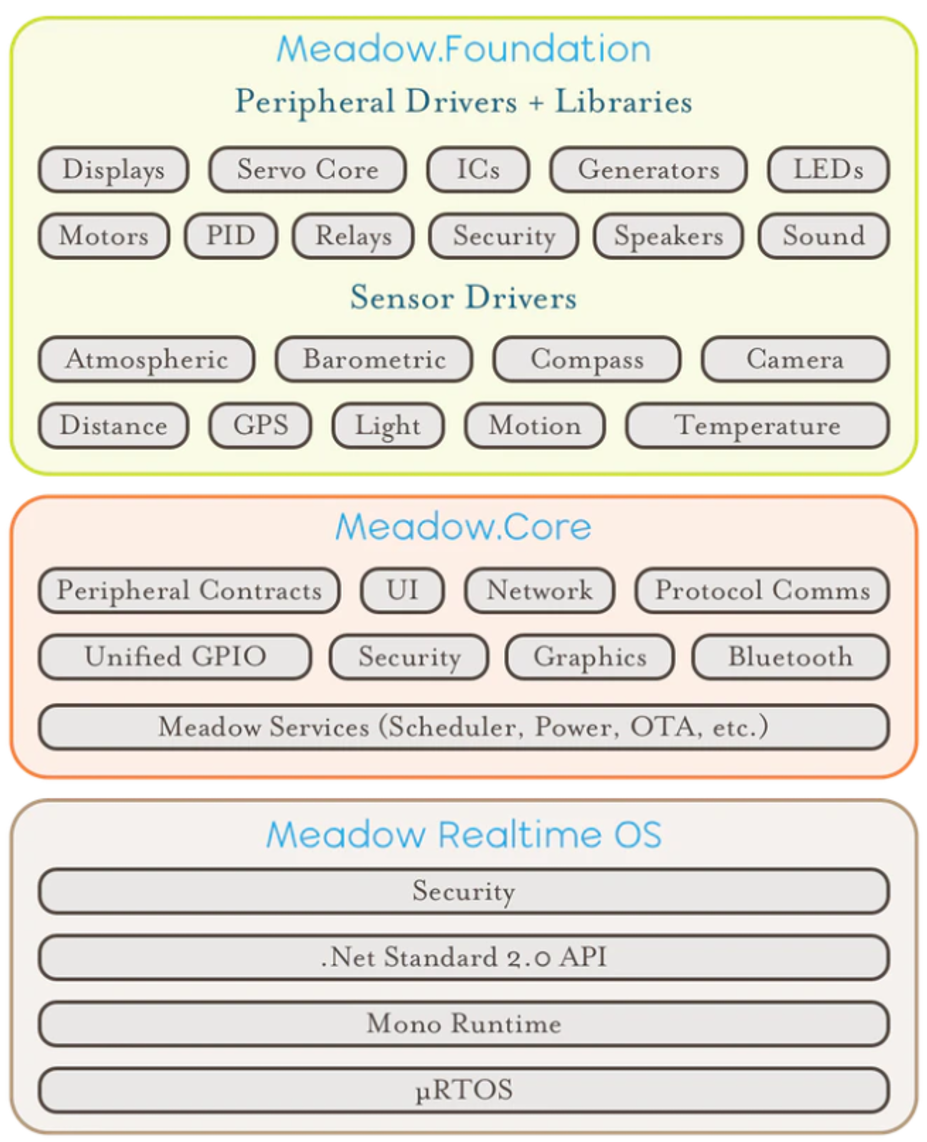
As you can see from the bottom of the stack, we have an RTOS which is a Real Time Operating System and that runs Mono which then supports .NET standard.
On top of the base runtime, we have the Meadow.Core which is all the library’s we interact with from our .NET C# code and the Meadow.Foundation is a selection of NuGet library’s that we can add to our project to interact with Sensors and Peripherals we use in our project all in C#.
We write our code in Visual Studio using the Wilderness Labs extention which is available for both VS19 and VS22 Here and don’t worry the totally free Visual Studio Community Edition is more than enough to use this awesome platform.
We then write in a style that is borrowed from Xamarin as you would guess given the team’s background and deploy from your machine to the board. The best place to start with Meadow is to get a board from the store and follow the docs they have Here there are 2 versions of the hardware V1 and V2 the current sale board is the V2 so be sure to grab that as it has some fixes.
As for the firmware on the board it’s currently at Beta 6.4 and there is a roadmap here that has just been published showing v1.0 so hopefully there will be an RC very soon.
-
Pro’s
- Same Form Factor as the Adafruit feather Boards so there are many add-ons available called Feather Wings.
- .NET Standard 2.0 so all your favourite Nugets should work like NewtonSoft.JSON etc.
- Onboard WiFi and Bluetooth for connection to the outside world for networking and connecting to the cloud.
- Low Power so can run from a battery for many weeks or a Solar Cell for months if not indefinitely.
- You are not stuck with C# if you’re an F# fan or crazy and use VB.Net yes it’s still a thing Look you can use whatever .NET language you want as it’s just .NET
- It has a 2nd microcontroller onboard an ESP32 that handles the network stack mainly but is also used to allow Over-The-Air (OTA) updates from the cloud when your device is out in the field.
-
Con’s
- My main concern with the Meadow F7 is they are a small company and the only supplier of the boards, but I love them so hopefully they stick around.
- Planned Over The Air Updates (More on this in a future post!) are from a Wilderness Labs cloud offering rather than one of the main Cloud providers like Azure. This is still in development so may change.
- Still in Beta for the software at the time of writing and have been for a while, hopefully they will RC soon and support .NET 6 in the process so what this space.
NanoFramework
The last of our choices but certainly not the least is the amazing NanoFramework project. This is an Open Source platform that allows you to write managed C# applications for constrained embedded devices and isn’t tied to just one device or even one processor.
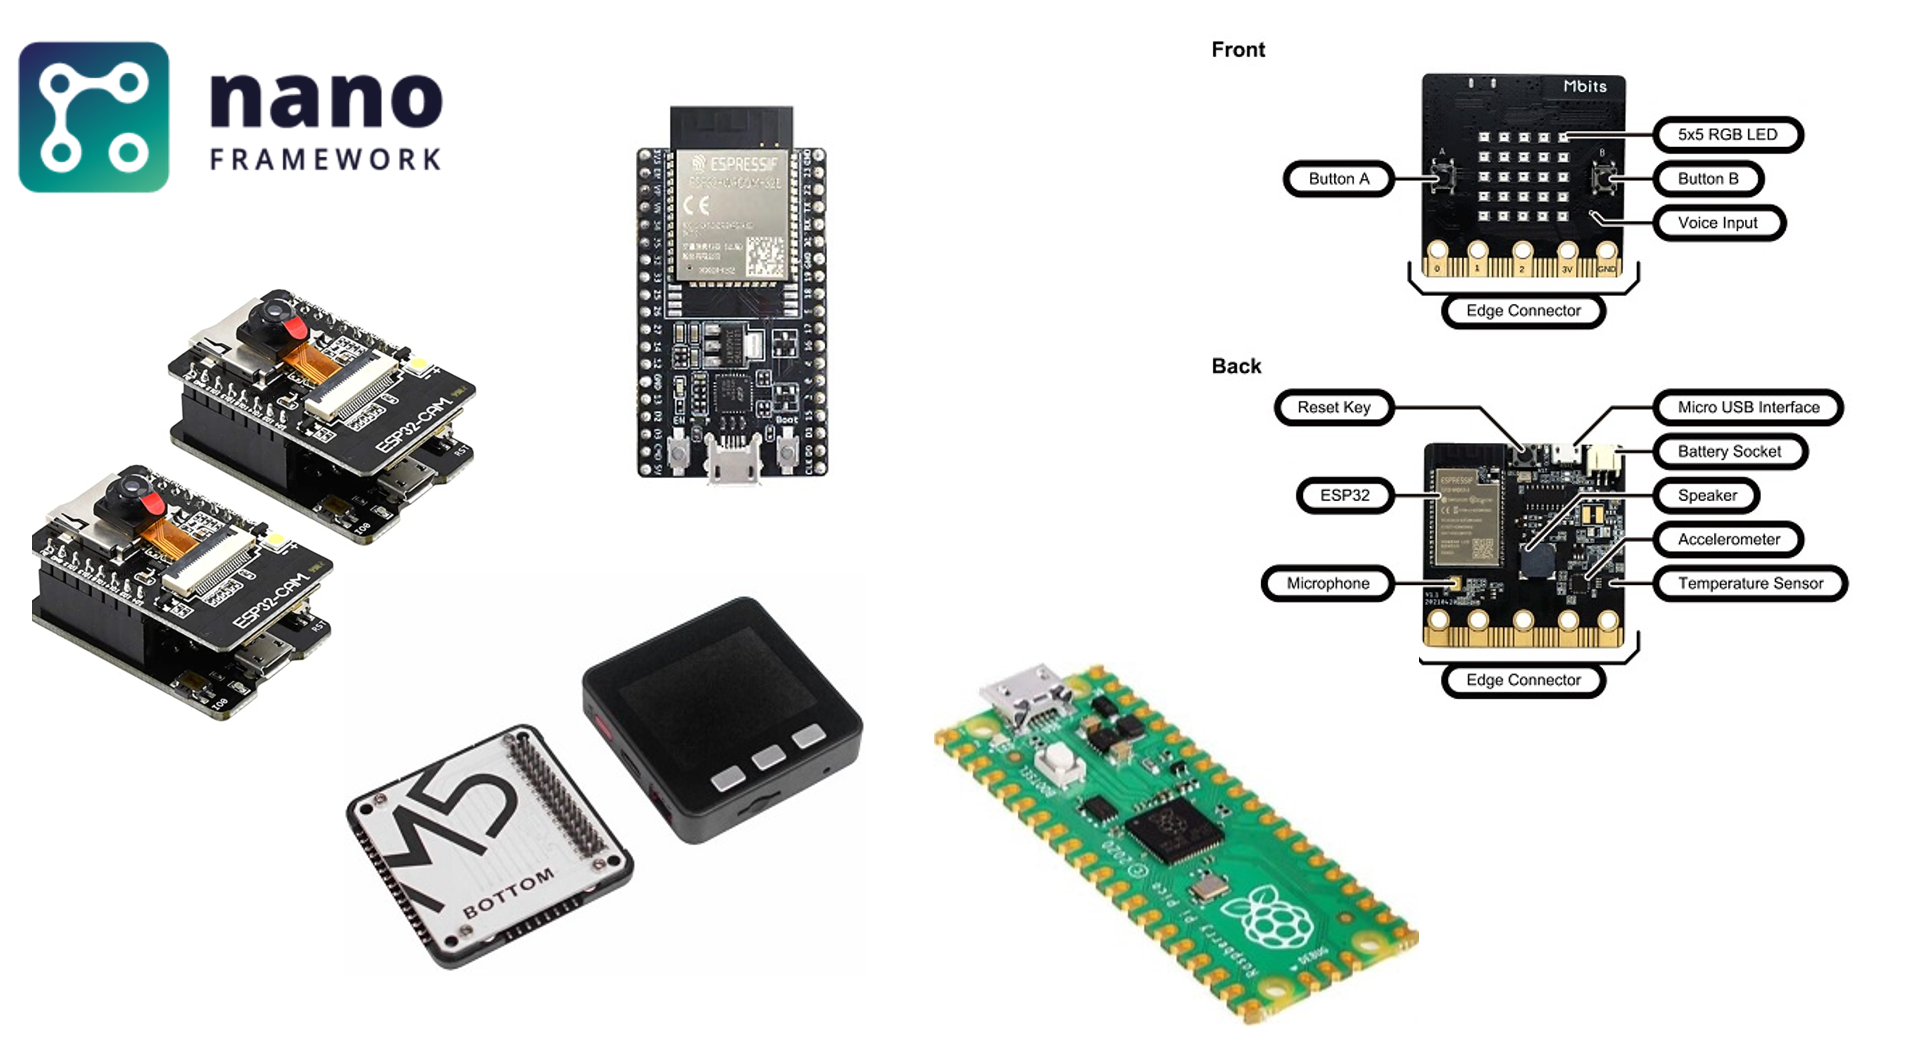
You can target a range of devices from the ESP32, STM32, M5Stack, Texas Instruments and NXP families as well as other community lead targets you can see the full list on their GitHub page at the bottom as well as a link to the many community targets getting some love.
The difference with NanoFramework is that rather than being full .NET like the RPi or Net Standard like the Meadow this is C# wrappers around C++ libraries to build the HAL (Hardware Abstraction Layer) and PAL (Platform Abstraction Layer) to surface the device to a reduced .NET CLR (Common Language Runtime).
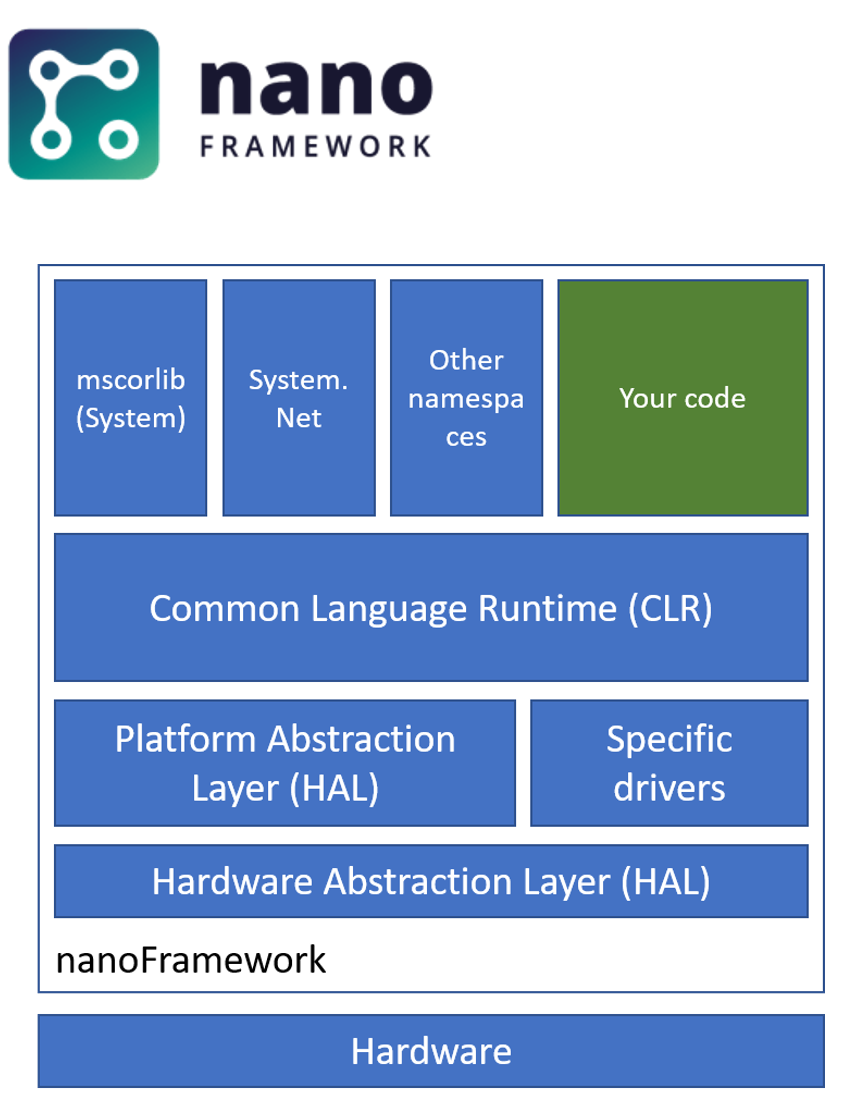
What this means is that you can write your normal C# code in a console app like the other devices we have mentioned but unlike the others as these devices have very little memory and are super low powered, we have some bits of .NET missing like Generics for example. In essence as the team say it’s a reduced version of the .NET Common Language Runtime (CLR) and features a subset of the .NET base class libraries along with the most common APIs included in .NET IoT allowing code reuse from .NET IoT applications.
The big advantage of the NanoFramework other than it being open-source so you can dive in and help out or write a library for that obscure sensor you need, is that it supports so many devices. All these devices are very cheap like an ESP32 board can be purchased cheaply even from Amazon.
As with Meadow there is a Visual Studio Extention for VS17/VS19 and VS22 and no special tools are needed other than the board and a USB cable for most devices.
-
Pro’s
- Opern Source and backed/Supported by the .NET Foundation.
- Multiple devices from huge suppliers like Espressif
- Runs at super low power and you have access on most devices to the underlying platform (Like Xamarin/MAUI really! 😉) so you can do low level things on each device like deep sleep.
-
Con’s
- Not full .NET but wrappers so not everything is supported.
- Different boards have different capabilities not all have Wifi/Bluetooth so you have to research your perfect device before starting the project.
- Need to use the CLI to burn the bootloader onto your new device before you can export your .NET C# code onto it. This can be a very daunting process and where most people have issues when getting started.
Conclusion
In this first of the series posts we have looked at what IoT devices we can target with our .NET and C# skills as well as the Pro’s and Con’s of each platform and approach. In the next we will look at the ways to connect these devices to the cloud and the services we have available to us as after all without that there really isn’t an ‘I’ in IoT is there.
If there is anything specific, you want to be covered or you wish to comment then please do reach out on twitter @CliffordAgius or contact the Ballard Chalmers team.
Happy coding.